Integrating Waline Comment System into Your Blog
Using Waline as a commenting solution with Vercel + LeanCloud
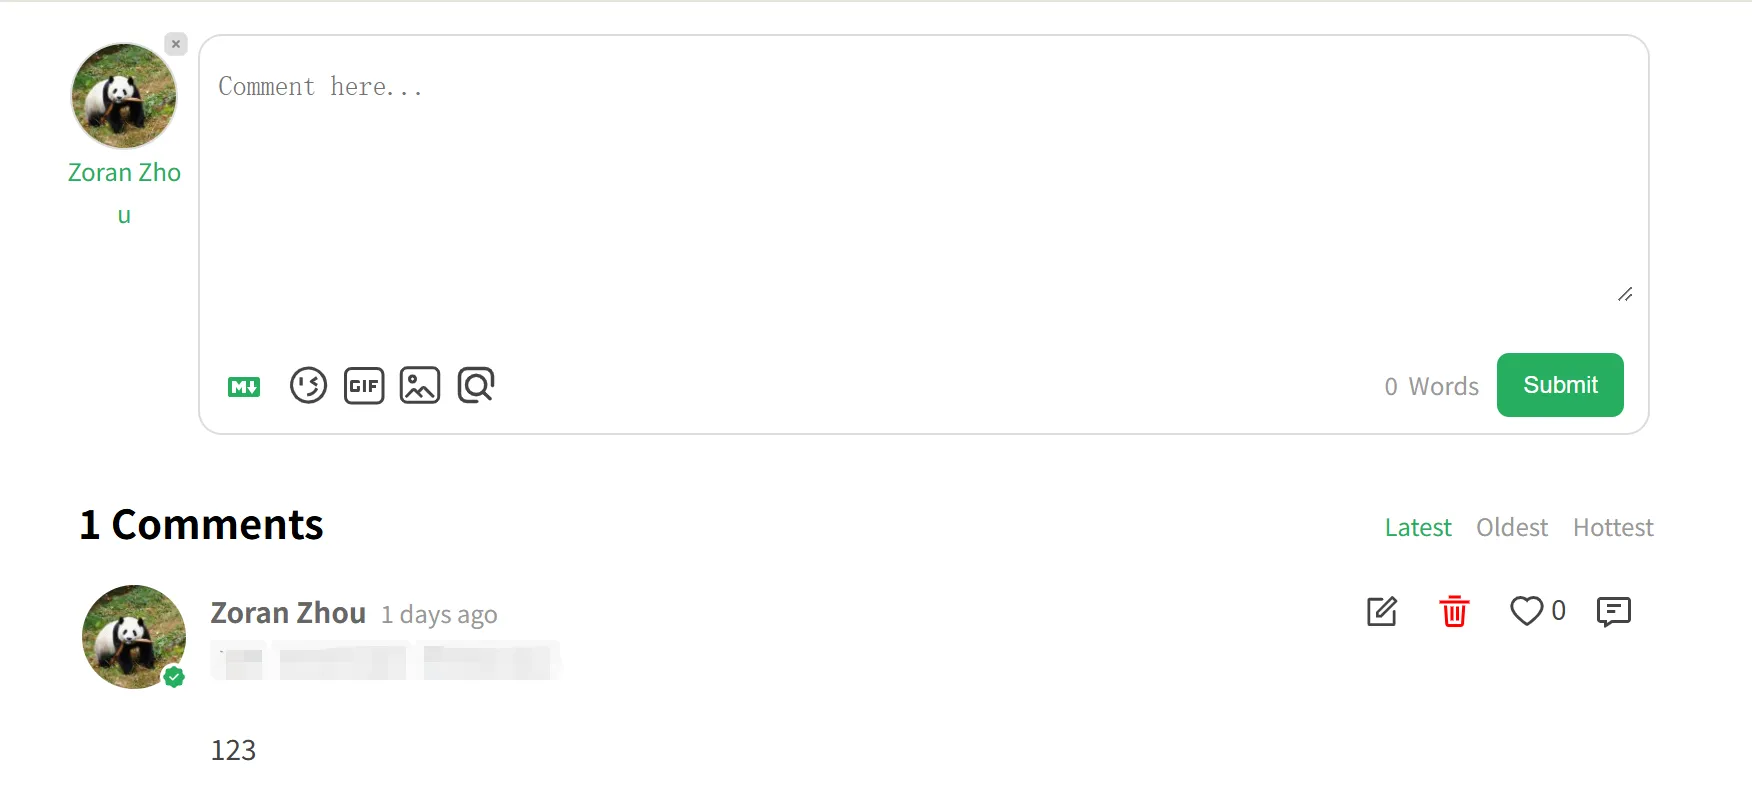
Waline Comment System
Waline is a serverless commenting system backed by LeanCloud and other backends, extremely popular for Hugo and other static site generators.
Advantages:
- Small frontend resources, fast loading;
- Cloud storage, no need to deploy a database;
- Supports managed backend, works great with LeanCloud;
- Supports multiple styles;
- Supports guest login or QQ/Weibo login methods;
I chose this solution because it supports social media login and the comment section looks great~
Deployment Process
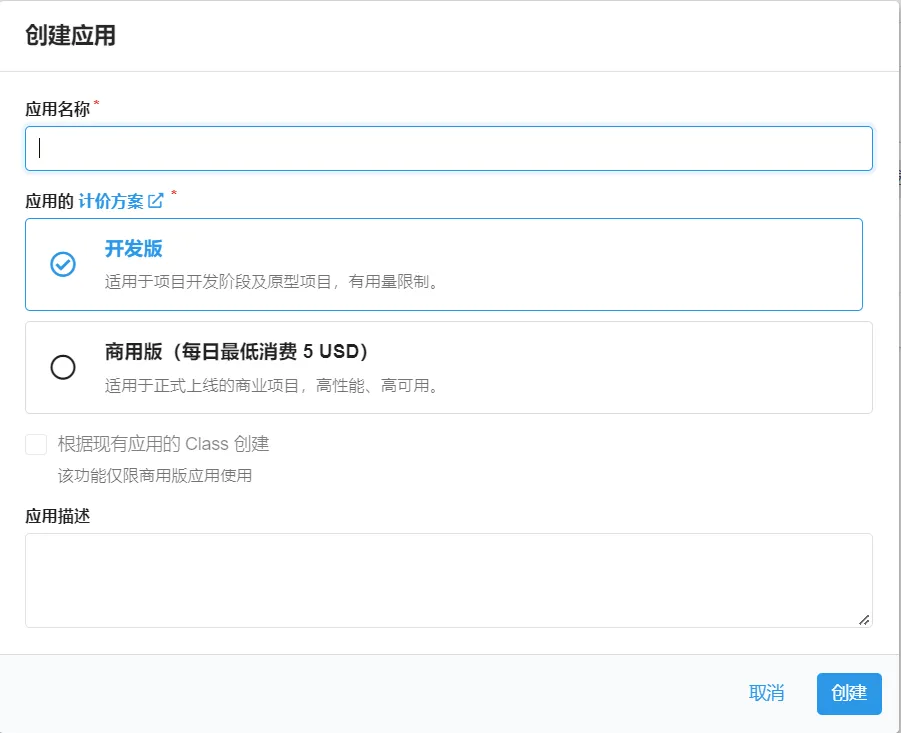
Create LeanCloud Account
Obtain three API keys:
AppID
AppKey
MasterKey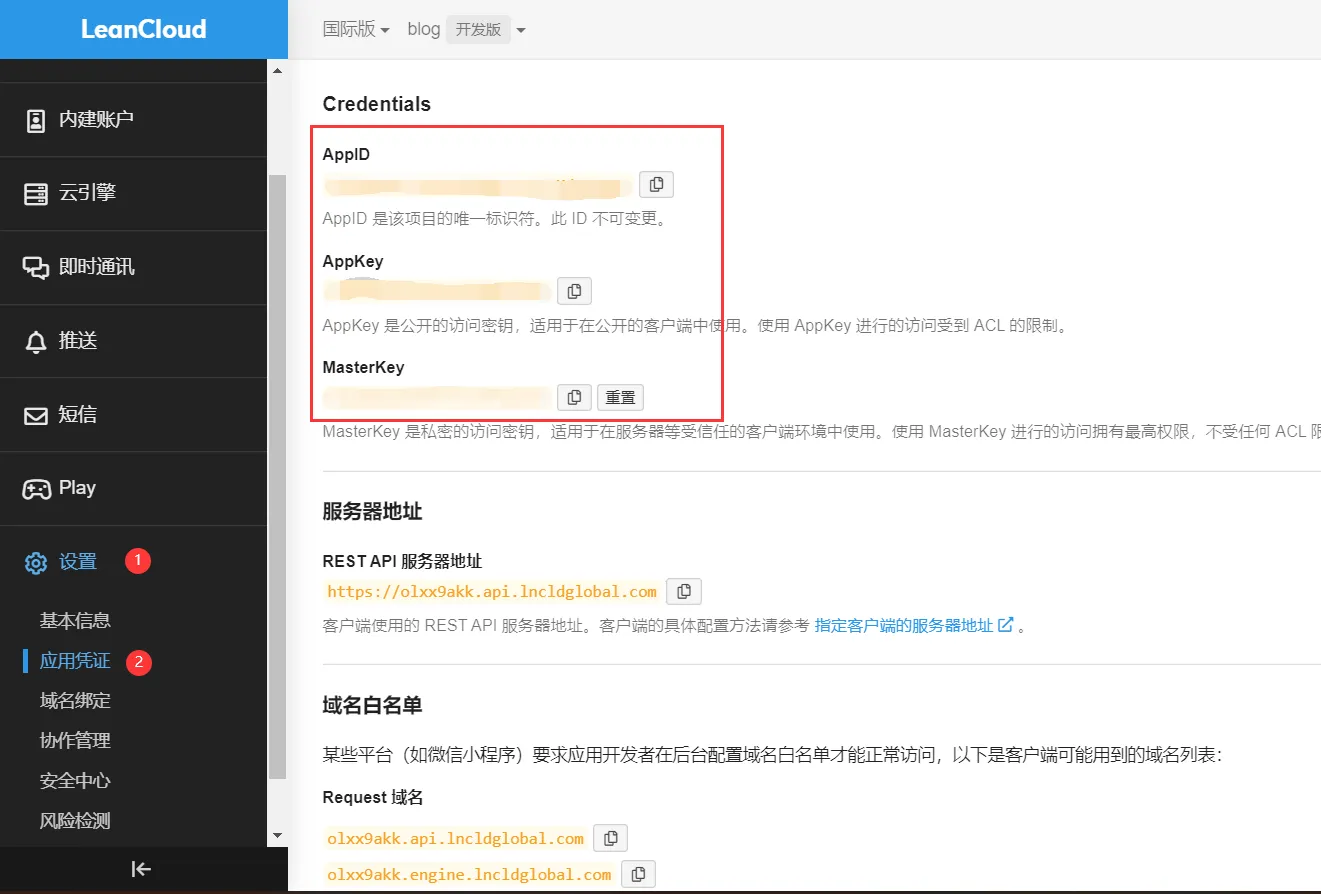
China edition requires ICP filing:
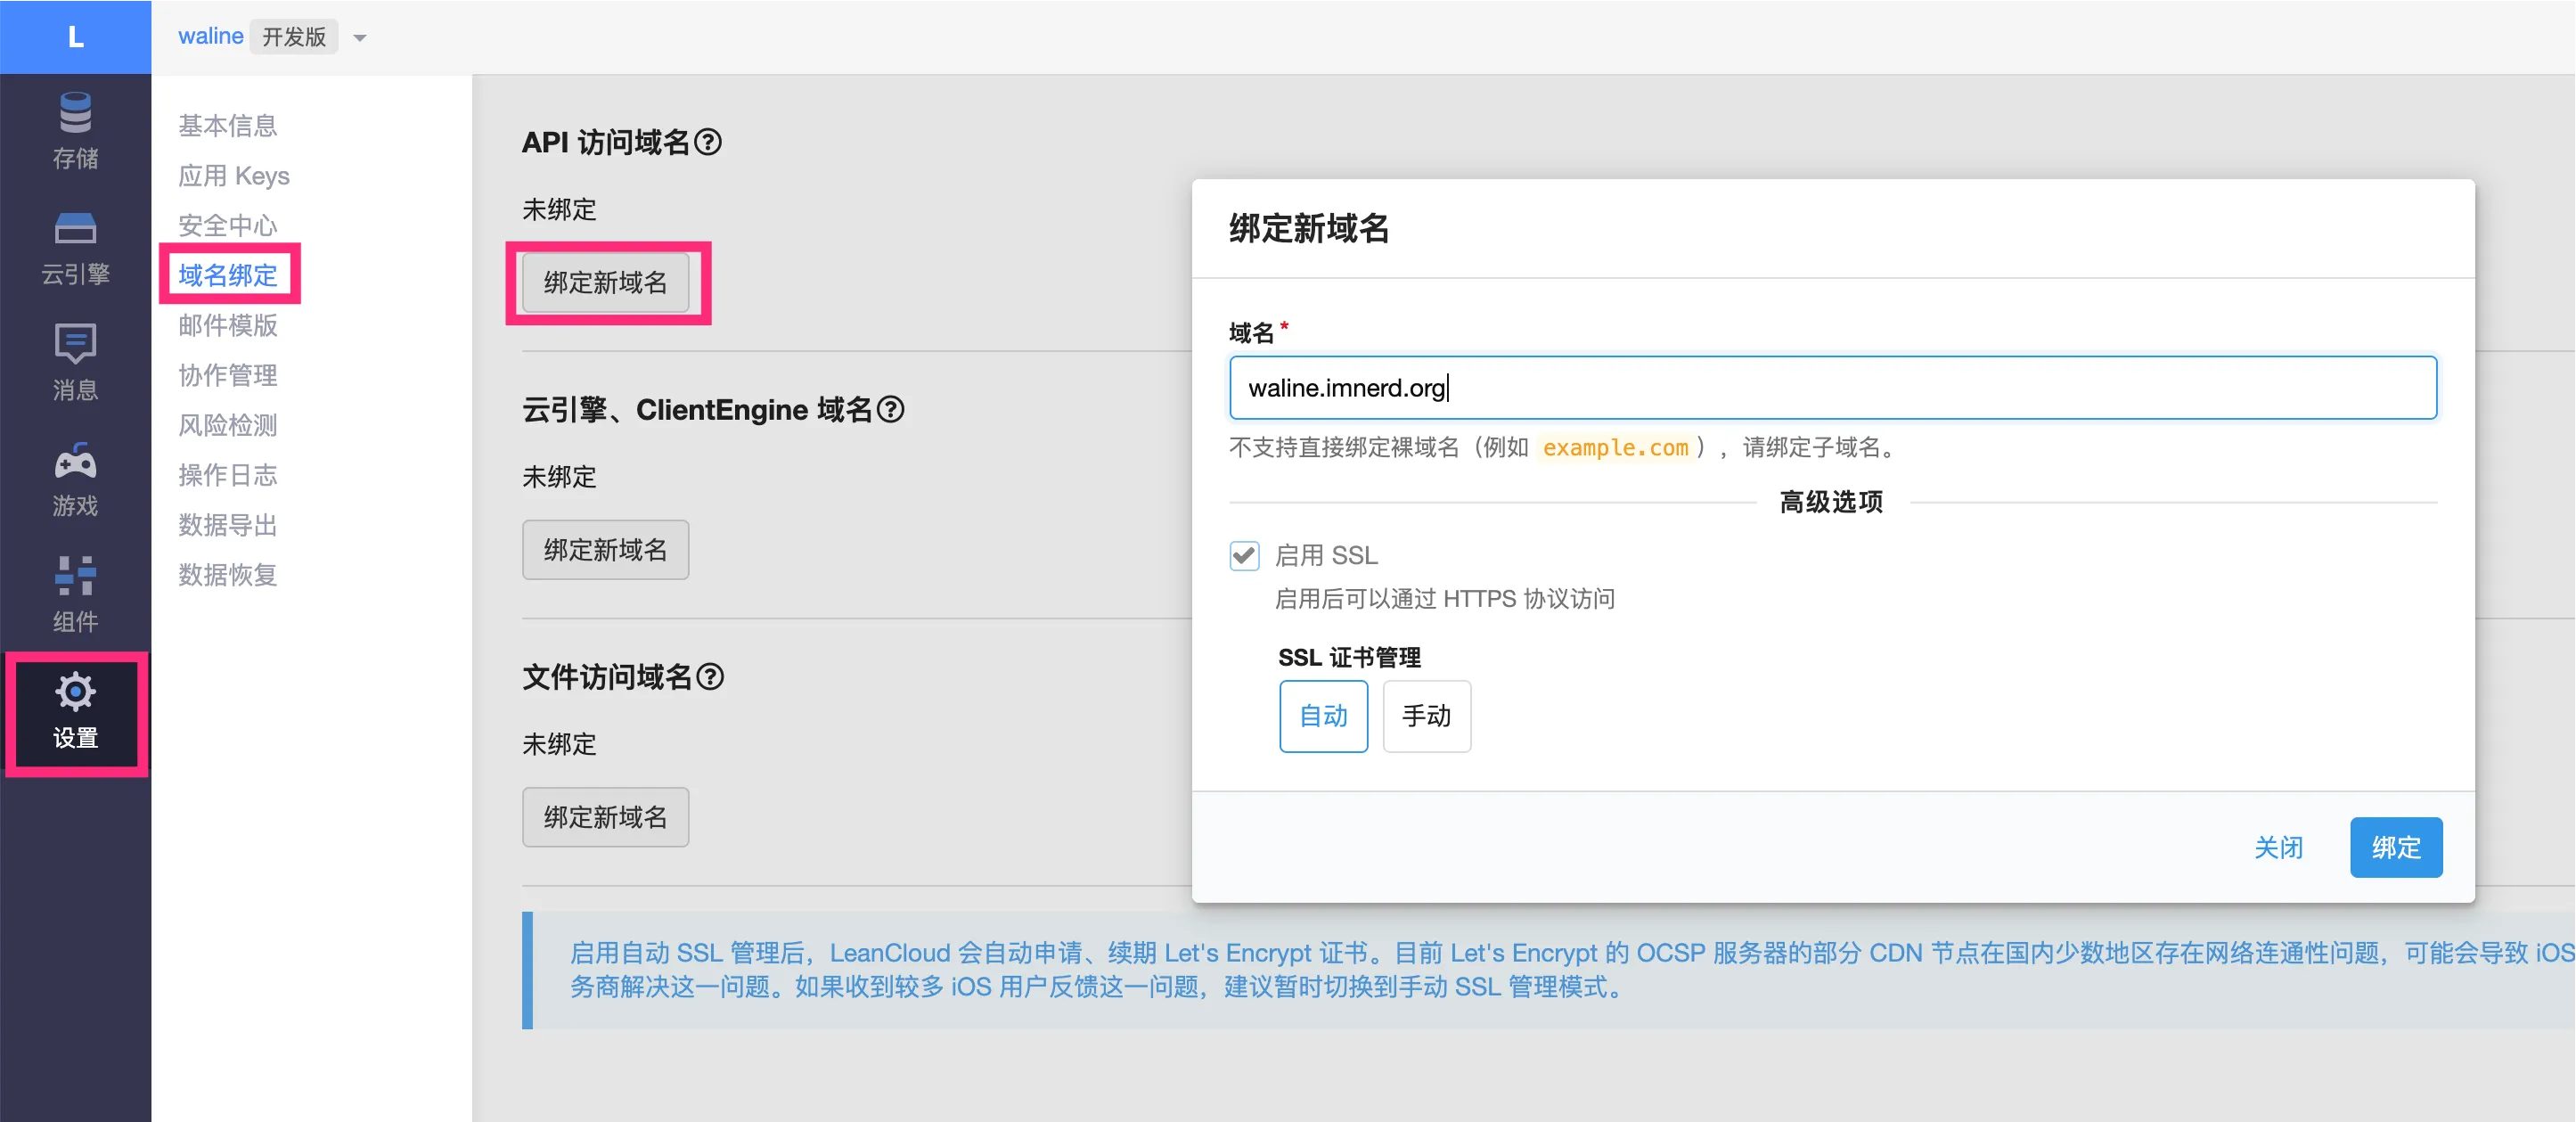
If you are using the LeanCloud China edition (leancloud.cn), it is recommended to switch to the international edition (leancloud.app). Otherwise, you need to bind an ICP-filed domain for the application, purchase an independent IP, and complete the filing process:
- Log into the China edition and enter the application you need to use
- Select
Settings>Domain Binding>API Access Domain>Bind New Domain> Enter domain >Confirm. - Follow the on-page instructions to complete the CNAME resolution in DNS.
- Purchase an independent IP and submit a ticket to complete the ICP filing. (Independent IP is currently priced at ¥50/unit/month)
Vercel Deployment (Server Side)
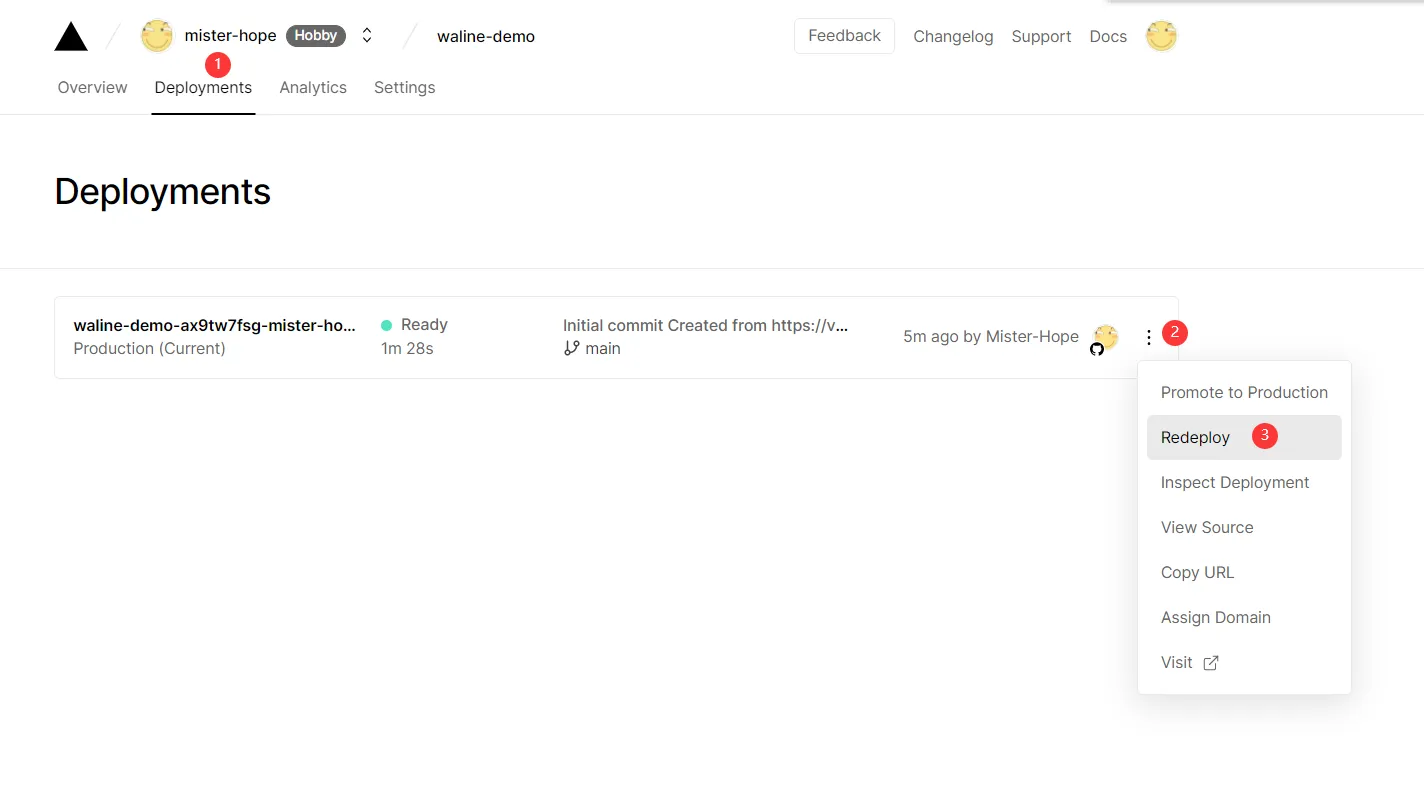
Enter your preferred Vercel project name and create it.
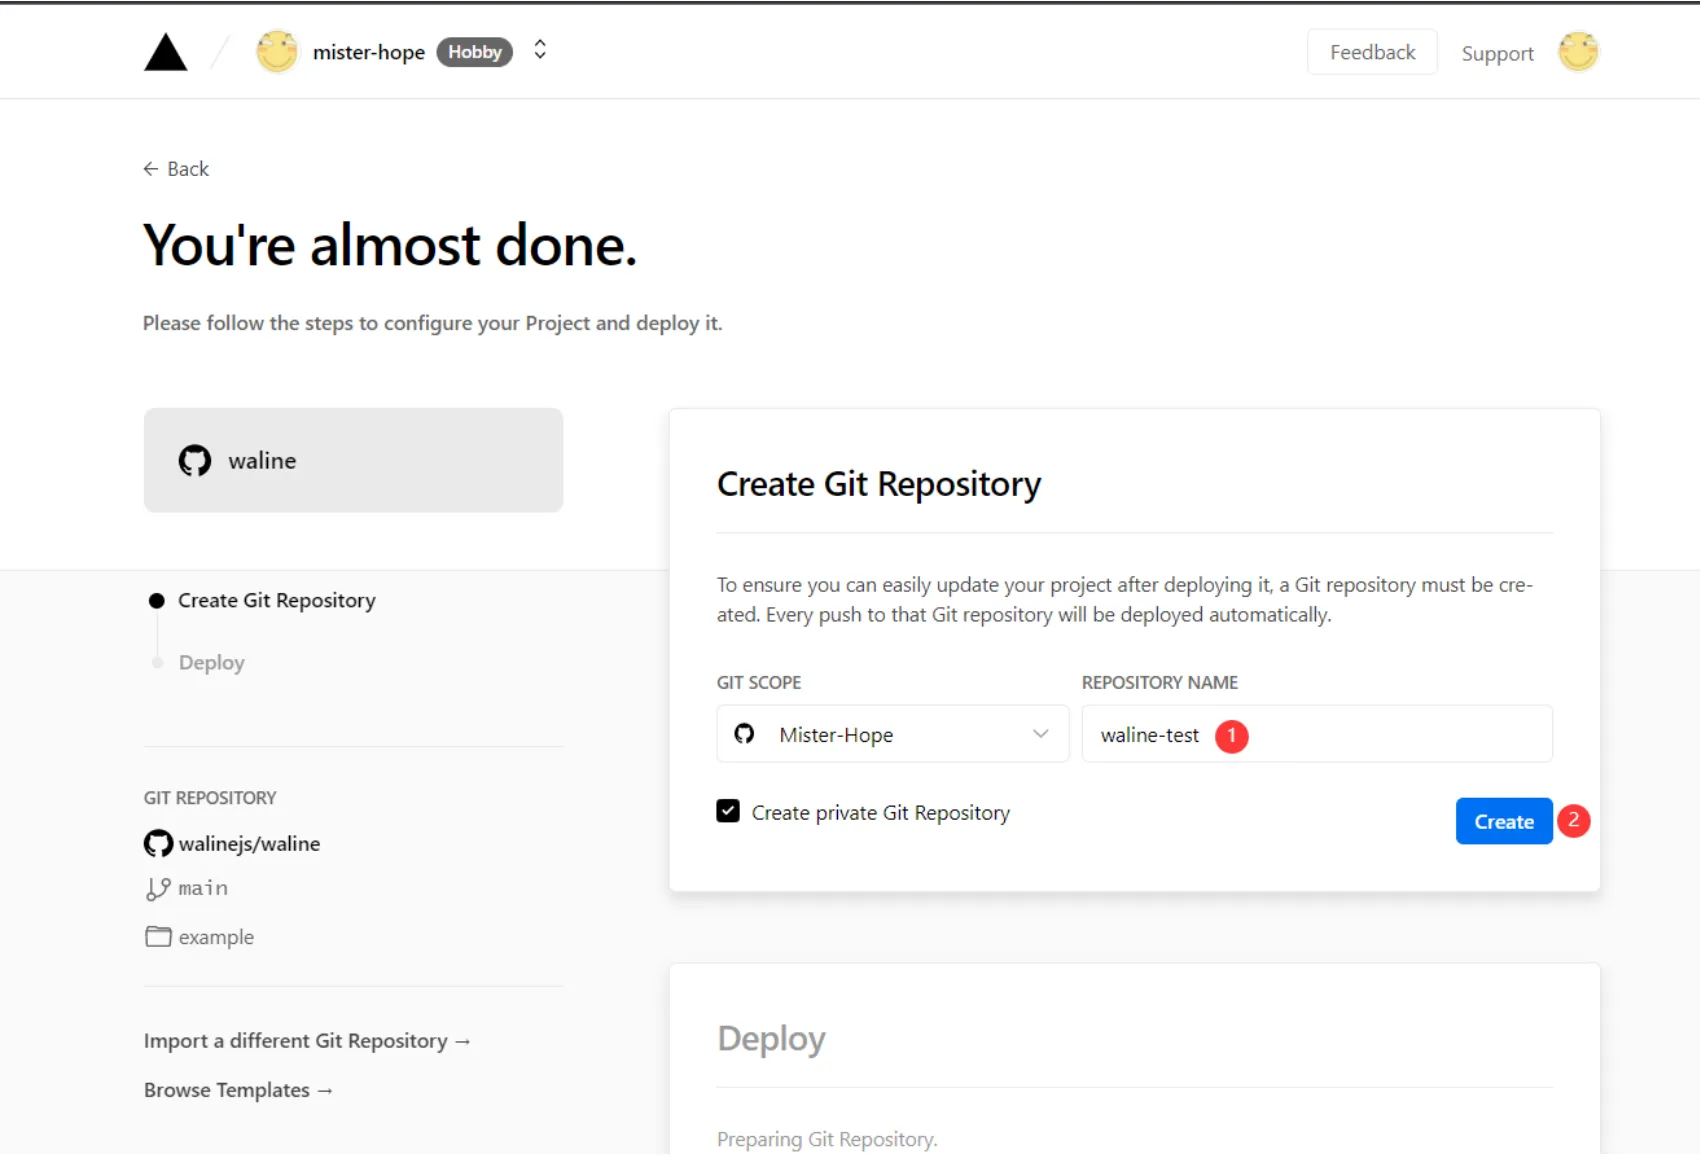
Click Settings - Environment Variables at the top to enter the environment variable configuration page, and configure three environment variables: LEAN_ID, LEAN_KEY, and LEAN_MASTER_KEY. Their values correspond respectively to the APP ID, APP KEY, and Master Key obtained in the previous step from LeanCloud.
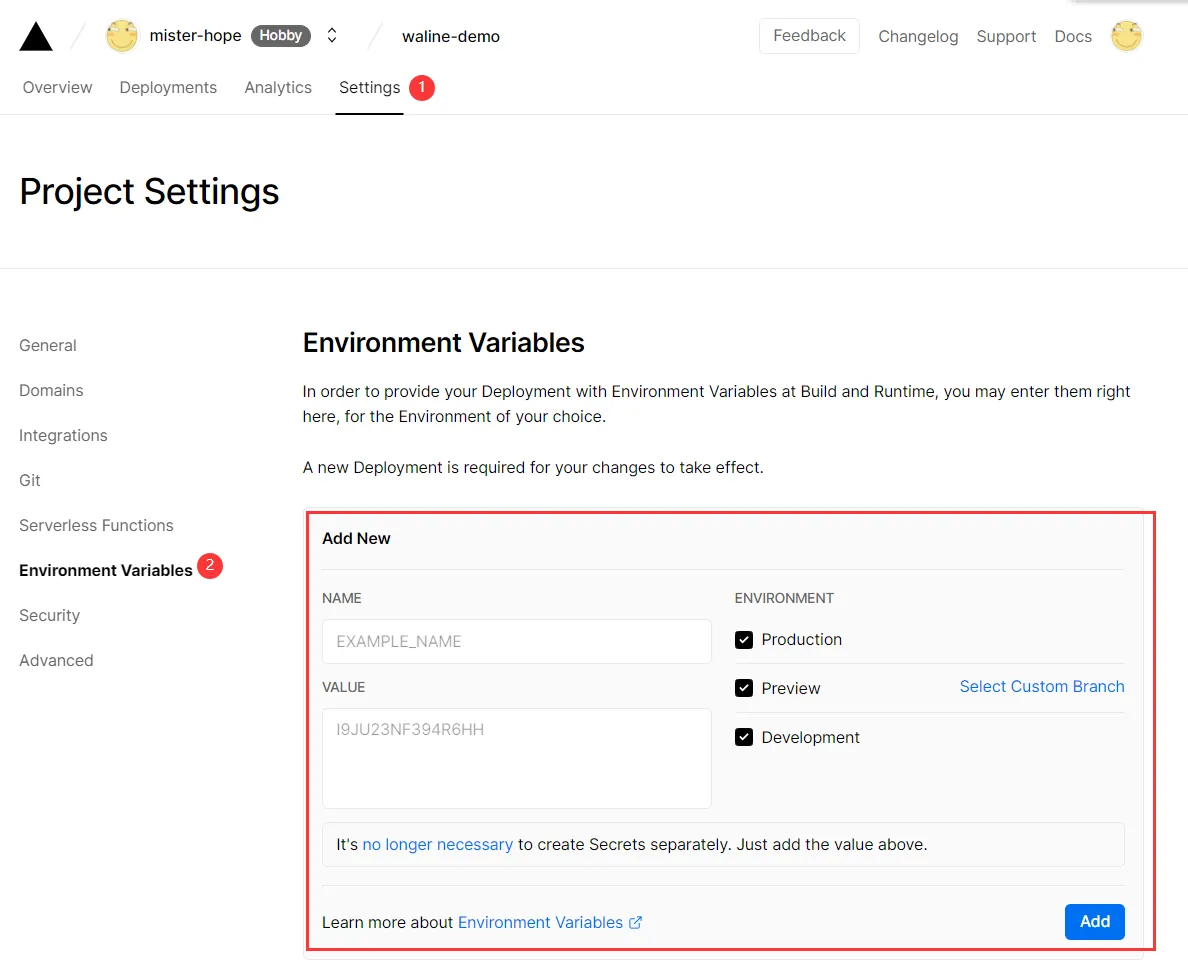
After configuring environment variables, click Deployments at the top, then click the Redeploy button on the right side of the latest deployment. This step is to make the environment variables you just set take effect.
This will redirect to the Overview page where deployment begins. Wait a moment until STATUS becomes Ready. At this point, click Visit to go to the deployed website address — this address is your server-side address.
Bind Domain (Optional)
- Click
Settings-Domainsat the top to enter the domain configuration page - Enter the domain you want to bind and click
Add
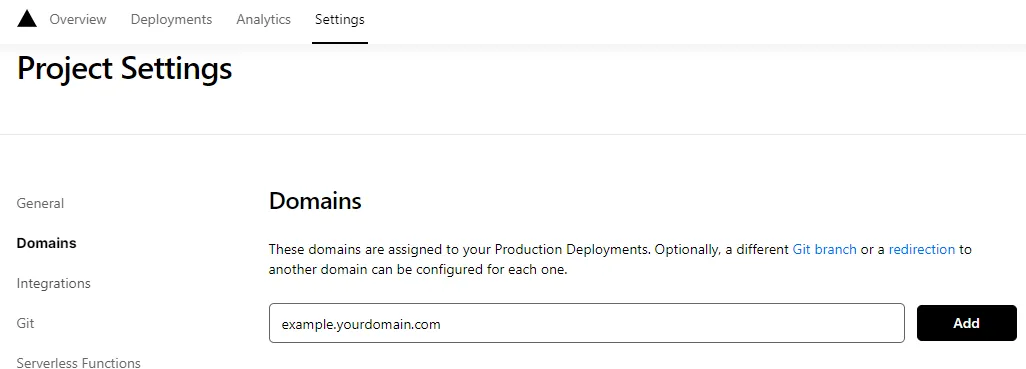
Finally, you can access the comment system and management system via your domain:
- Comment system: example.yourdomain.com
- Comment management: example.yourdomain.com/ui
Note: The first registered user is the administrator by default!!!
Embed HTML
Embed HTML file path:
Create waline.html
/layouts/partials/comments.html  // Depends on the theme's web page structure
Waline.html
<!-- Waline Comment System -->
<link
  rel="stylesheet"
  href="https://unpkg.com/@waline/client@v3/dist/waline.css"
/>

<div id="waline"></div>

<script type="module">
  import { init } from 'https://unpkg.com/@waline/client@v3/dist/waline.js';

  init({
    el: '#waline',
    serverURL: '{{ .serverURL }}',   // Retrieved from config.toml
    locale: '{{ .locale | default "en" }}',
    dark: '{{ .dark | default "auto" }}',
  });
</script>
Comments.html
  {{- if $pageCommentSystems.waline }}
    {{- with .waline }}
      {{- partial "waline.html" . }}
This tutorial references: https://waline.js.org/en/guide/get-started