My OpenWrt Custom Build Workflow
Building a custom OpenWrt system on an Ubuntu virtual machine
Table of Contents
OpenWrt Compilation
Prerequisites
- VMware Workstation or equivalent virtualization software
- An already installed Ubuntu 64-bit system
Warning: Do not use the root user for compilation!
sudo apt-get update
sudo apt-get -y install build-essential asciidoc binutils bzip2 gawk gettext git libncurses5-dev libz-dev patch python3 unzip zlib1g-dev lib32gcc1 libc6-dev-i386 subversion flex uglifyjs git-core gcc-multilib p7zip p7zip-full msmtp libssl-dev texinfo libglib2.0-dev xmlto qemu-utils upx libelf-dev autoconf automake libtool autopoint device-tree-compiler g++-multilib antlr3 gperf wget curl swig rsync  // Build environment prerequisites
Clone Lede Repository
git clone https://github.com/coolsnowwolf/lede
cd lede   // Enter the cloned repository
Edit feeds.conf.default:
Fill according to this repository, includes proxy plugins etc.
src-git kenzo https://github.com/kenzok8/openwrt-packages
src-git small https://github.com/kenzok8/small
src-git packages https://github.com/coolsnowwolf/packages
src-git luci https://github.com/coolsnowwolf/luci
src-git routing https://github.com/coolsnowwolf/routing
src-git telephony https://github.com/openwrt/telephony.git;openwrt-23.05
Compilation
Update plugin repositories, start compilation:
./scripts/feeds update -a
./scripts/feeds install -a
make menuconfig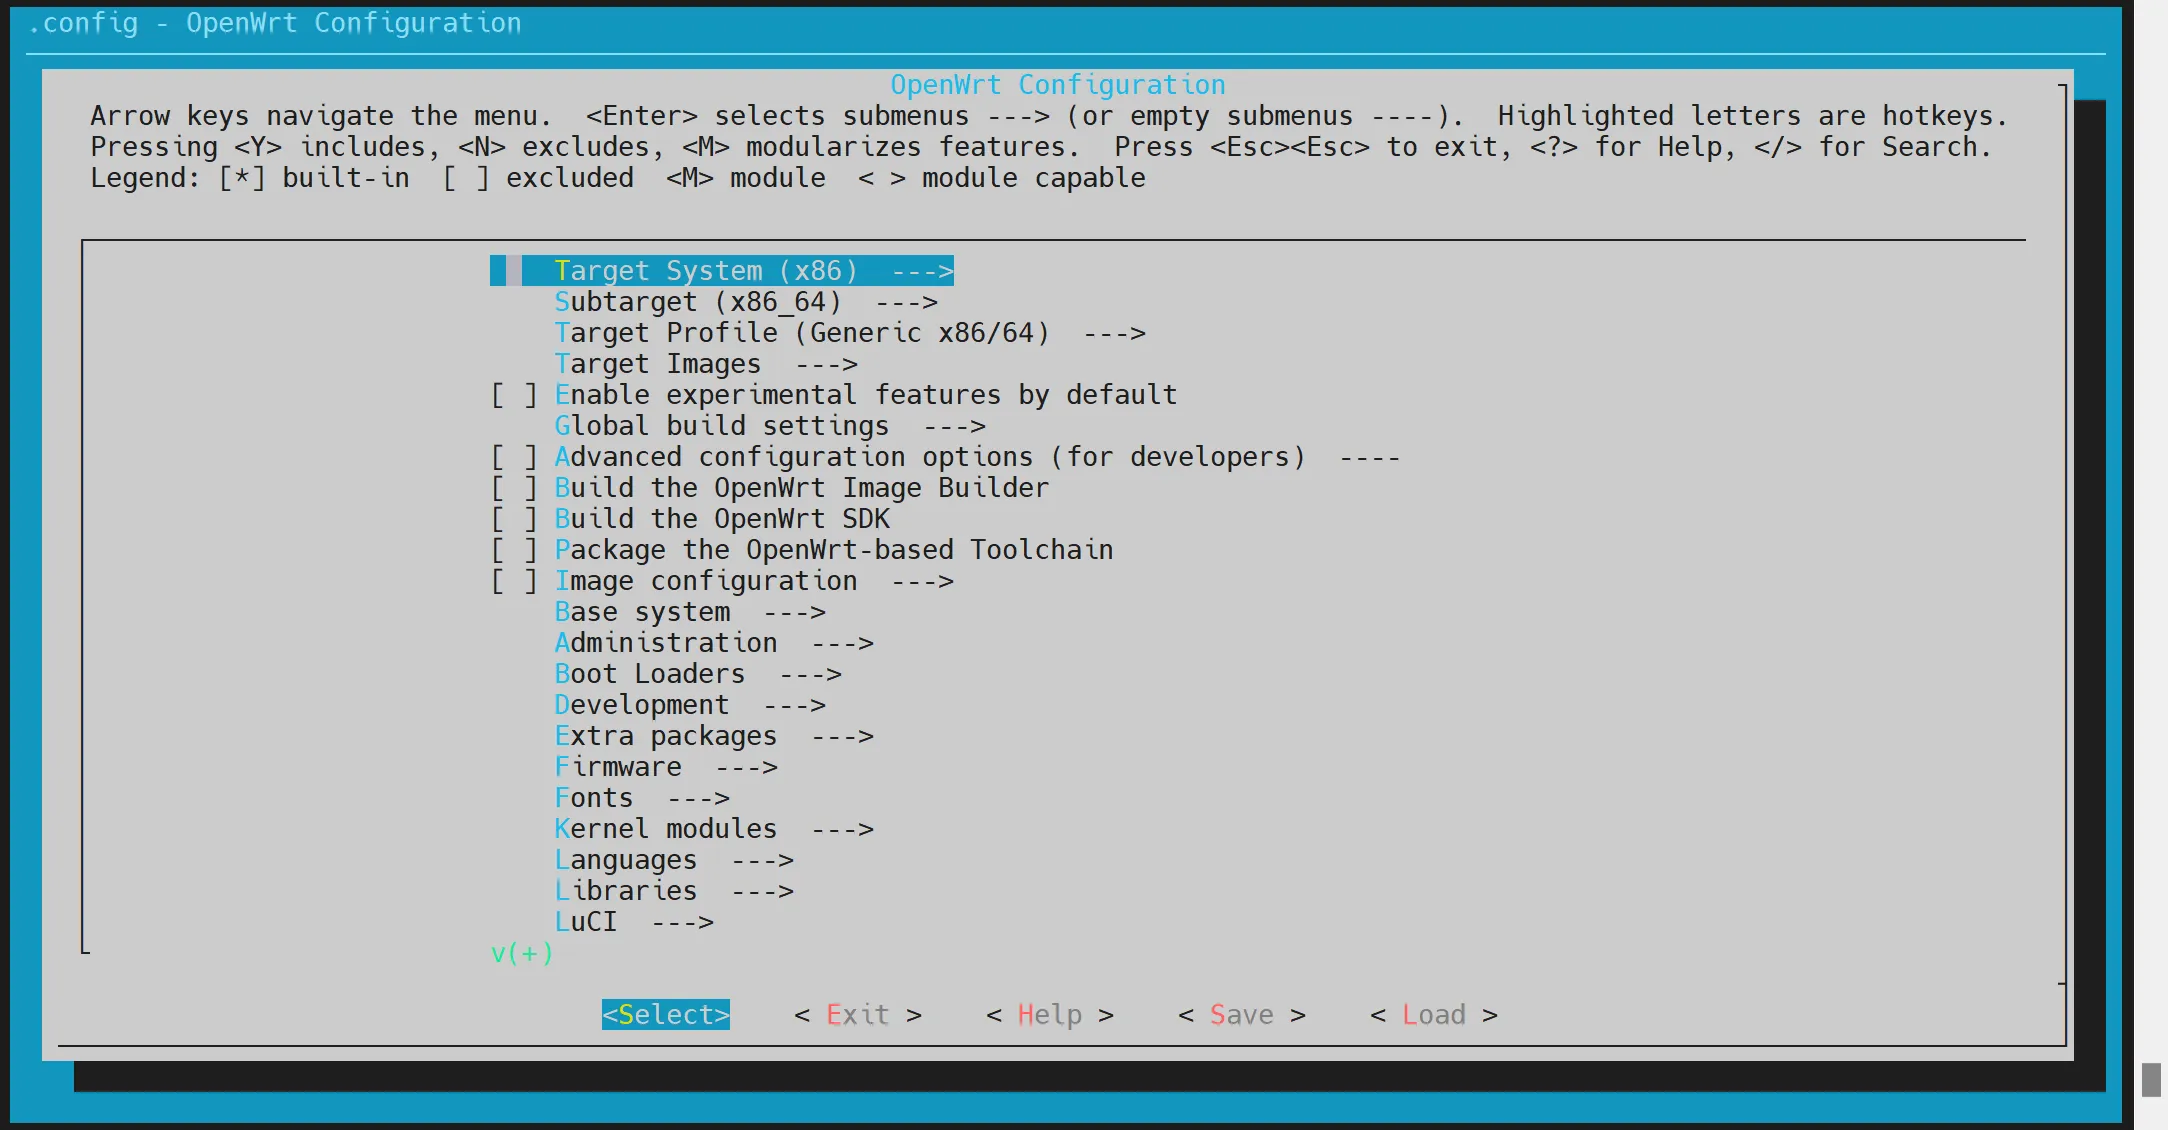
Target System: Select system architecture, default is x86 platform.
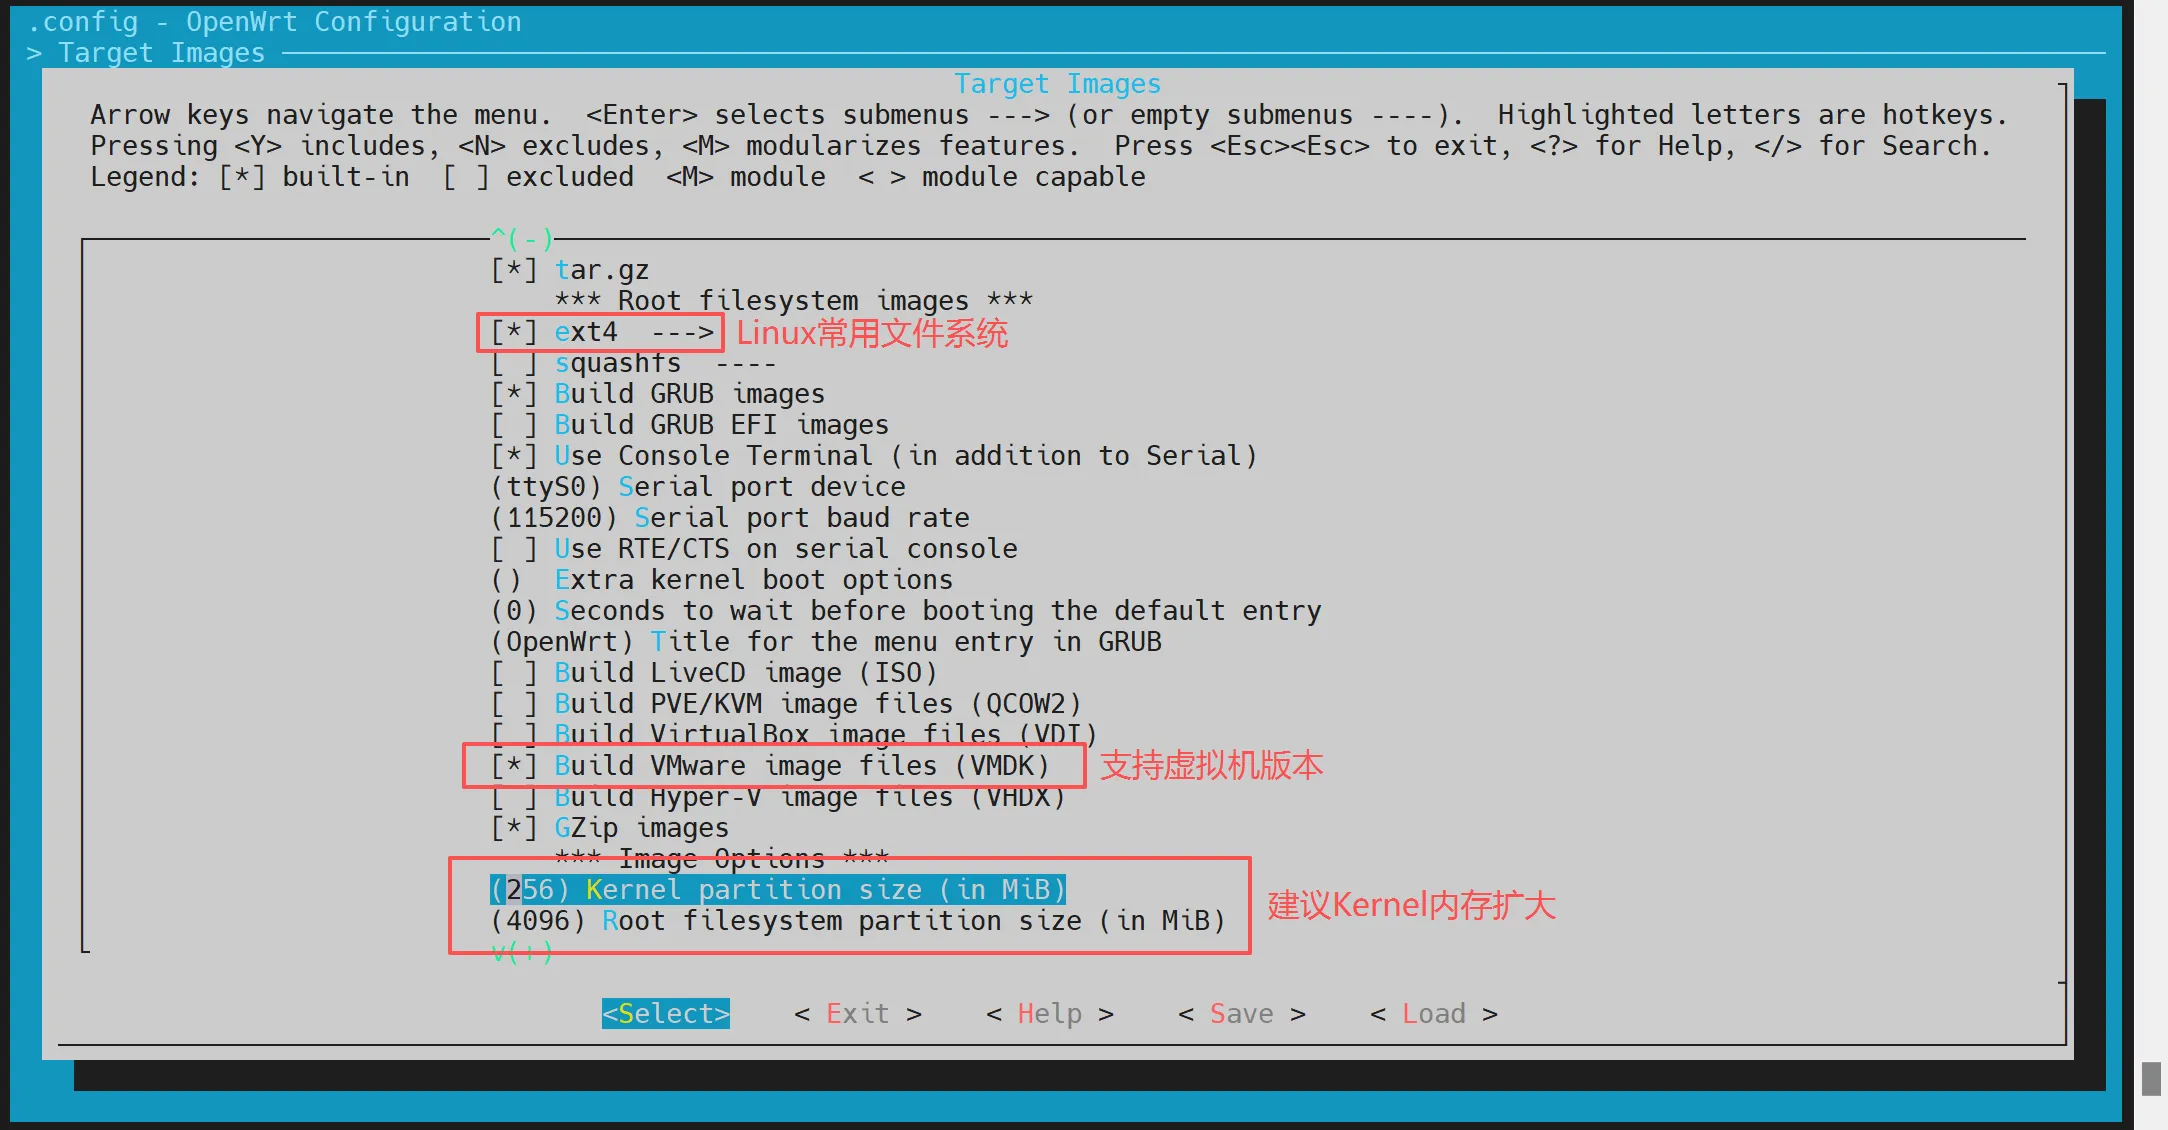
Target Images:
ext4: Compact Linux, suitable for installing software, needs larger space. Recommended for soft routers/NAS scenarios.
Squashfs: System cannot be directly written to, only stores config and data through overlay. Suitable for embedded, small flash devices (flashing + factory reset workflow).
combined: Boot partition and rootfs merged together. Can boot directly when flashed to HDD or USB. Recommended default for x86 architecture, suitable for SSD boot.
generic: Generic firmware (not hardware-specifically optimized), suitable for different file systems.
Recommended selection:
Important proxy plugin library path:
LUCI/Applications/luci-app-xxx   // Select as needed
For first-time compilation, it is not recommended to select too many. It's advised to remove non-essential plugins to improve compilation success rate.
Compilation checklist
LuCI ---> Applications ---> luci-app-accesscontrol # Access time control
LuCI ---> Applications ---> luci-app-acme # ACME automated certificate management environment (deprecated)
LuCI ---> Applications ---> luci-app-adblock # ADB ad filtering
... (omitted)
From: https://www.right.com.cn/forum/thread-344825-1-1.htmlDownload files required for compilation:
make -j8 download V=s   // 8 represents eight threads
make -j1 V=s   // Compile. For first time, recommended to use single thread for easier checking of error messages. If errors occur, delete the plugin causing the error.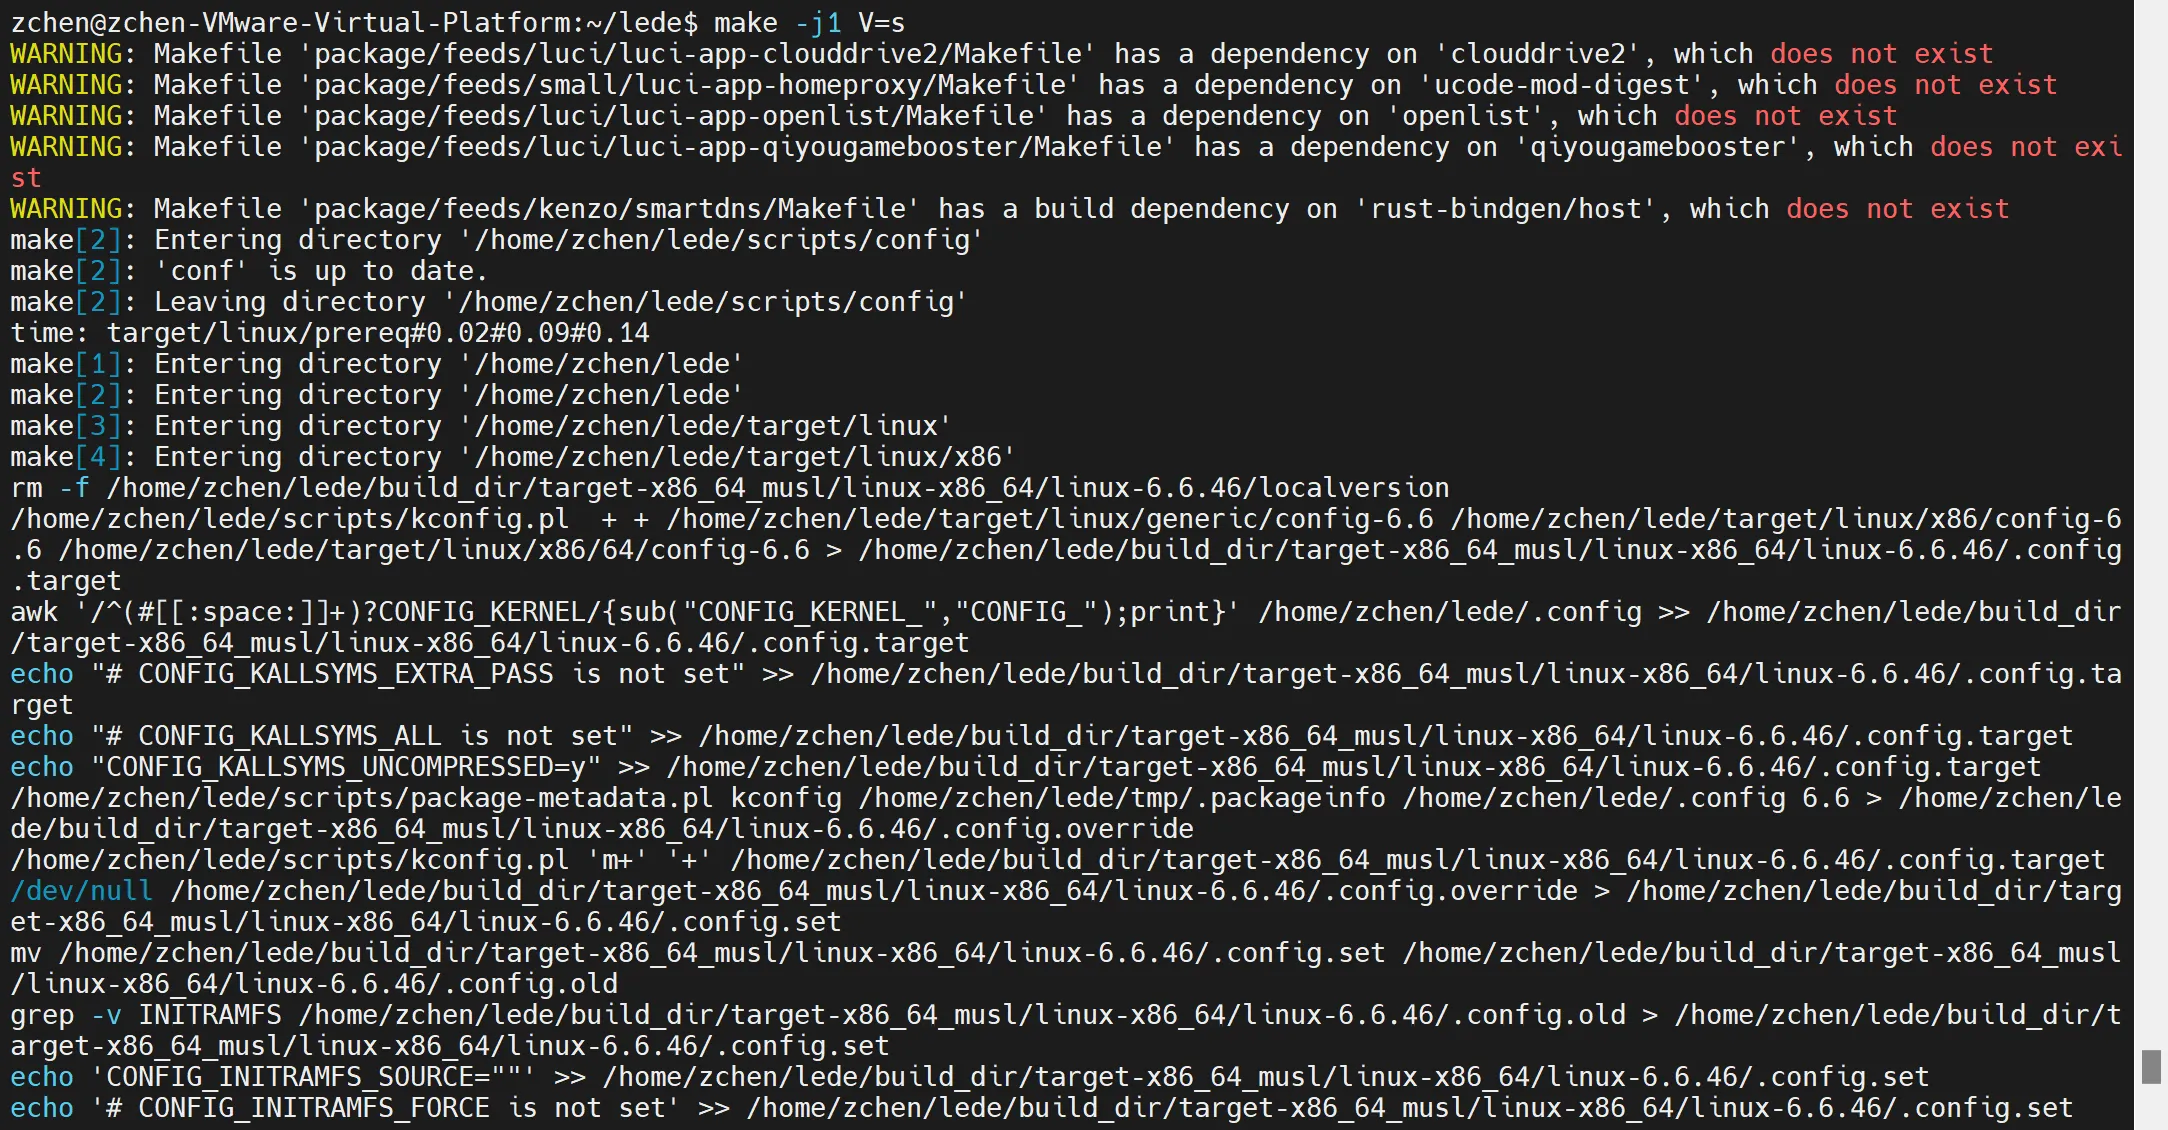
After compilation, the output files can be found in this folder:
/lede/bin/target/x86/64/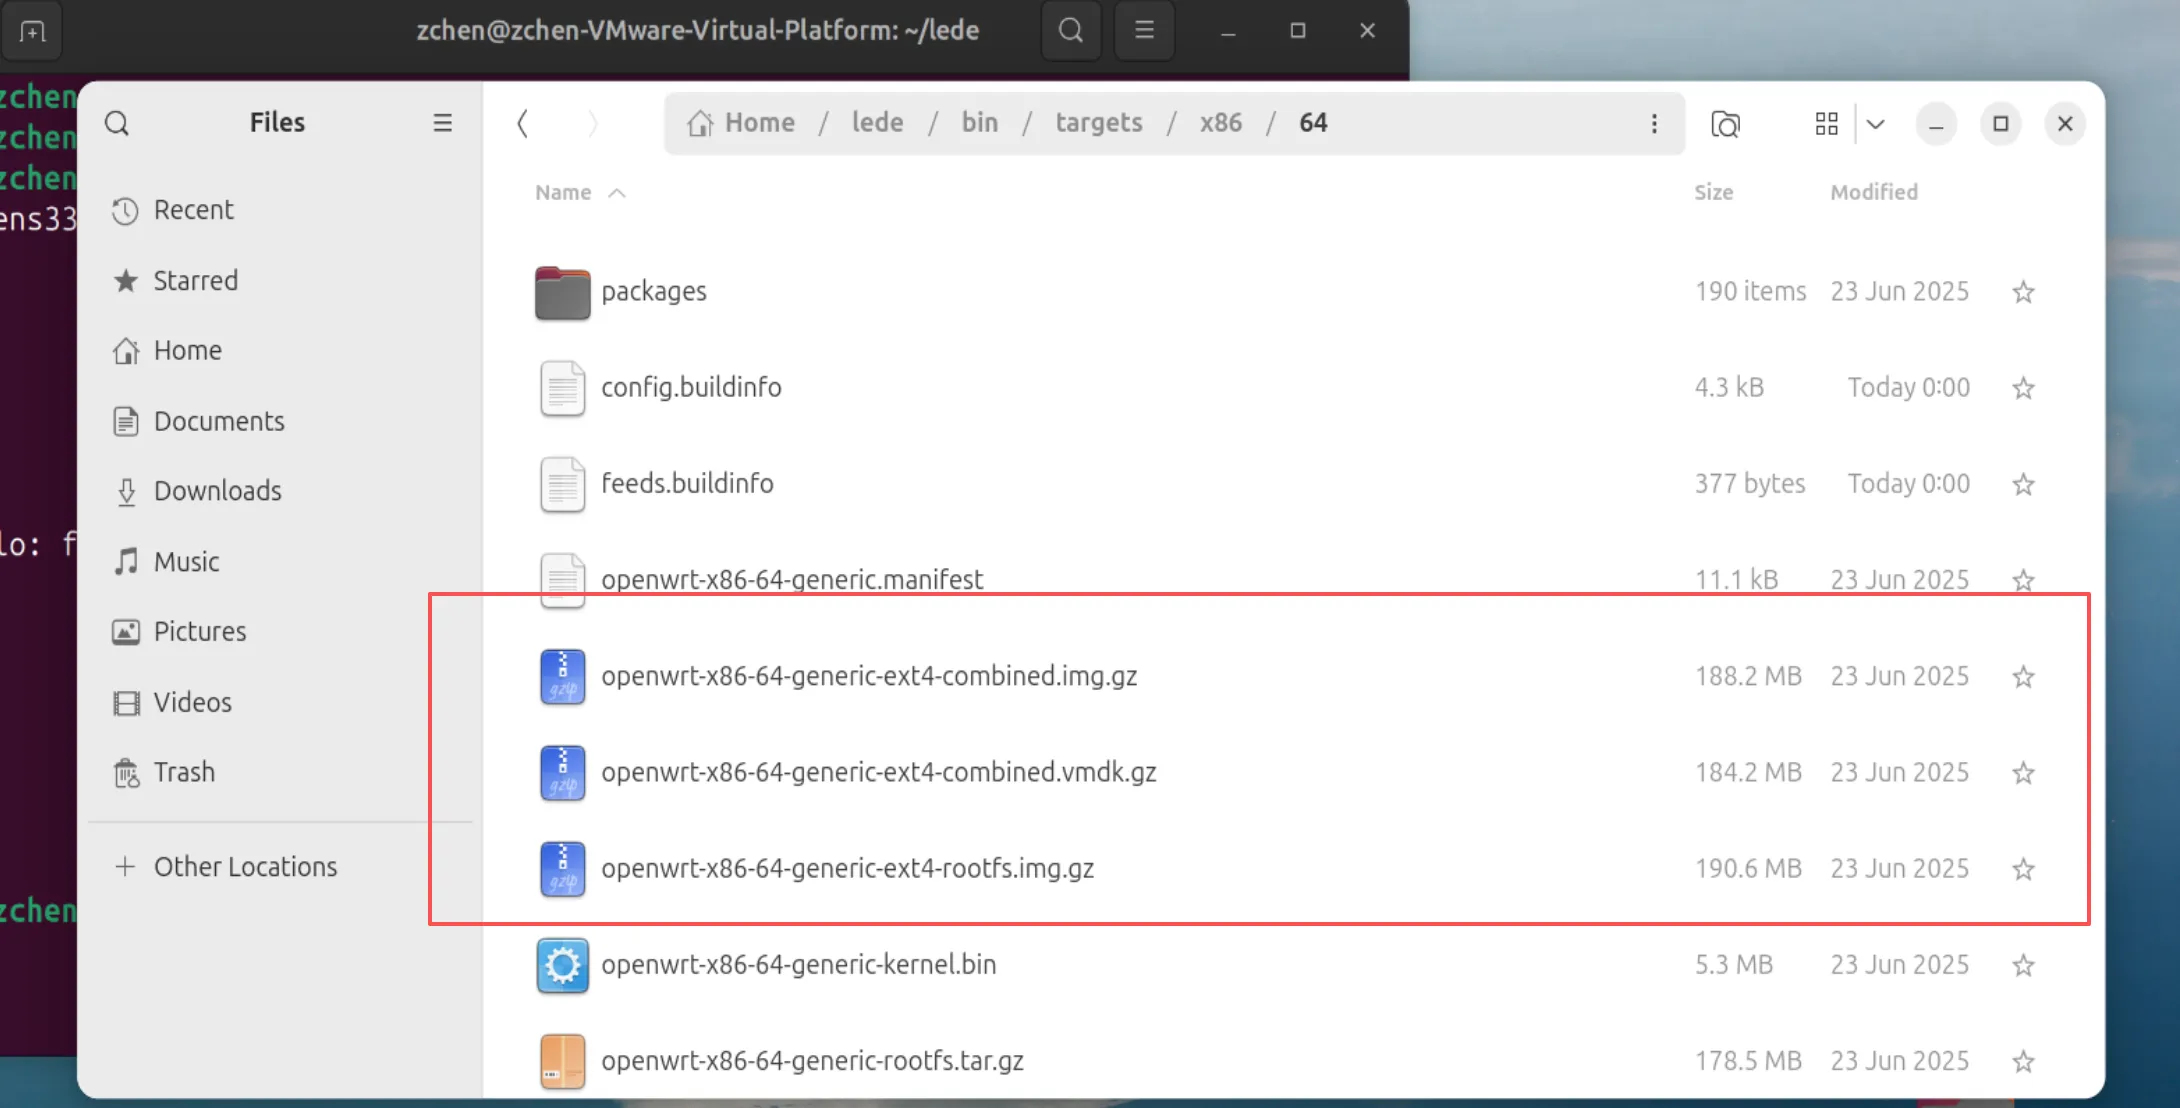
Secondary Compilation:
./scripts/feeds update -a && ./scripts/feeds install -a             # Update Feeds
rm -rf ./tmp && rm -rf .config                                      # Clear compilation config and cache
make menuconfig                                                      # Enter compilation config menu
make -j8 download
make -j$(($(nproc) + 1)) V=s
Reconfigure and Compile:
cd lede
rm -rf ./tmp && rm -rf .config
make menuconfig
make -j$(($(nproc) + 1)) V=s
Change Default LAN IP Address:
cd lede
vim package/base-files/files/bin/config_generate
Default password: password